
To all natural skincare lovers out there and DIY enthusiasts, this is for you! Are you ready to toss those store-bought soaps laden with artificial additives and start making your very own, all-natural soap bars? Well, well, you have come to the right place. Handcrafted soap not only helps you take care of your skin but also helps save the planet and is easier on the wallet. This guide has you covered from start to finish. I will explain every step of the process and equip you with all the necessary skills to tackle any basic challenges you encounter along the way.
This comprehensive guide will walk you through the why, what, and how of soap-making—from understanding key ingredients to troubleshooting common issues. Even if you’ve never touched a soap mold before, you’ll be ready to create your first batch by the end of this post.
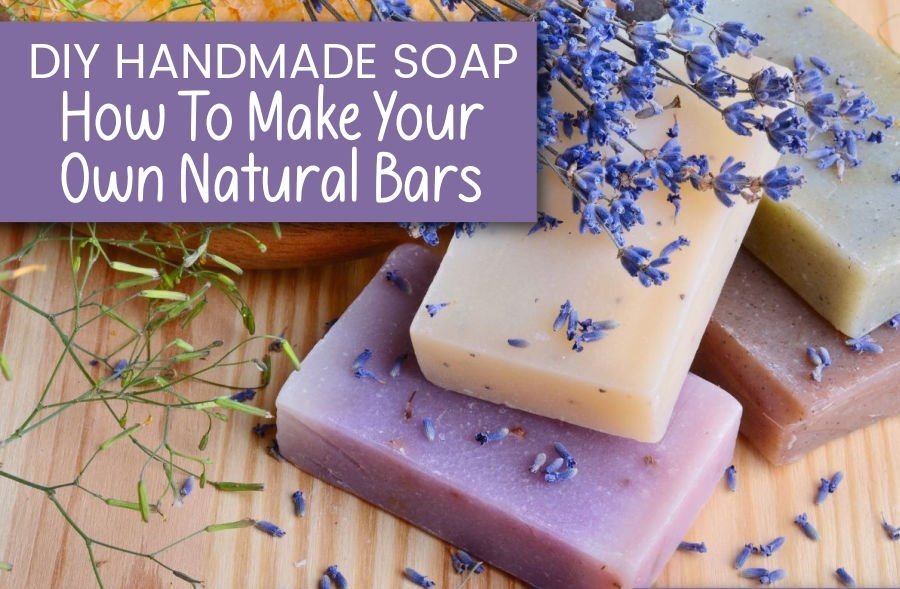
Now, roll up those sleeves, grab your apron, and let’s start soaping!
Table of Contents
Why Choose Natural Soap? The Benefits for Your Skin and Health
Understanding the Power of Natural Ingredients
Commercial soaps are often filled with synthetic fragrances, harsh detergents, and artificial colorants that can irritate the skin. Natural soaps, on the other hand, are made from gentle, skin-loving ingredients like plant-based oils and butters, which nourish rather than harm.
Some of the key benefits include:
- Moisturization: Heavily moisturizing the skin during cleansing with natural plant oils- olive oil and coconut oil
- Skin-soothing properties: Relieves redness and irritation with calming additives such as oatmeal or calendula petals, boosting skin recovery.
- Chemical-free: Enhanced gentleness for sensitive skin units, with no parabens, sulfates, or synthetic preservatives.
Eco-Friendly and Sustainable Soap Making
Crafting handmade soaps not only soothes the skin but is also much better for the environment compared to natural soaps. Most commercial soaps contain harmful ingredients like microplastics and chemicals that are dangerous to marine life, while natural soaps are made from biodegradable materials. Furthermore, making your soaps can help to eliminate packaging waste, which is a major problem, and you have the option to use organic or locally grown ingredients.
Tip: To increase eco-friendliness, make sure to use escargot tools from the kitchen and wooden or silicone molds.
Essential Ingredients Every Soap Maker Needs
The Basics: Oils and Butters
Your soap’s texture, hardness, and lather depend on the oils and butters you use. Here are some popular choices:
- Olive Oil: Creates the hardest soaps that still provide amazing, fluffy lather. They are best at deep cleaning, but they work best in combination with other moisturizer oils.
- Coconut Oil: Creates a hard bar with fluffy, luxurious lather. Ideal for a deep clean but best when combined with other moisturizing oils.
- Palm Oil: Makes soap hard (and is a good option only if the palm oil comes from ethically sourced places).
- Shea Butter or Cocoa Butter: Makes the soap silky yet smooth while heavily nourishing the skin at the same time.
Natural Additives for a Personal Touch
Give your soap extra benefits with these popular natural additives:
- Essential Oils: Lavender essential oils can be used to calm the person using the soap, tea tree provides antibacterial properties, and eucalyptus is great if you want to feel refreshed.
- Exfoliants: Wheatted oats, coffee grounds, or poppy seeds can be used as gentle scrubbing equipment..
- Natural Colorants: Using spirulina will add green colors to the soap, and turmeric adds golden colors. Charcoal can also be activated to add a striking black color.
Pro Tip: Try to avoid using synthetic fragrances and colors, as these will make your soap not natural.
Step-by-Step Process for Crafting Your First Bar of Natural Soap
Gathering Materials and Tools
You’ll need the following:
- Ingredients: Any additional components you’d love, oils, additives, butters, sodium hydroxide (lye), and distilled water.
- Equipment: A stainless steel pot, protective goggles, gloves, a stick blender, a kitchen scale, a thermometer, mixing bowls, soap molds, and soap gloves.
Safety warning! Always put gloves and goggles on when working with lye since it is a caustic chemical. Use appropriate airflow and ventilation.
Cold Process Soap Making Step-by-Step
- Prepare Your Lye Solution: Slowly add lye to water (not the other way around!) and stir until dissolved. Be cautious and allow it to cool to 100–110°F.
- Heat Your Oils: Your oils and butters need to be heated together, and then both need to be cooled with the lye solution.
- Mix the Lye and Oils: From this step onwards, everything should be done calmly and preserved to the lye solution. Stir the lye solution into the liquid oils and mix them until they achieve “trace”.
- Add Additives: Combine any natural oil, colorant, or exfoliant to change the customizability of your soap.
- Pour into Molds: Pour your mixture into any formed or shaped molds
- Curing Time: Cover and insulate your soap for 24–48 hours, then unmold and cut into bars. Allow the soap to cure for 4–6 weeks.
Tip: Patience is key! Proper curing ensures your soap is hard, long-lasting, and gentle on the skin.
Troubleshooting Common Problems Every Soap Maker Faces
Soap Too Soft?
Your soap may be too soft due to:
- Excessive liquid in the recipe.
- Insufficient lye or improper measurements.
Fix: Adjust your recipe to include more hard oils (coconut or palm) or reduce water content.
Soap Not Setting?
This could be caused by:
- Incorrect lye-to-oil ratio.
- Over-mixing or under-mixing at the “trace” stage.
Fix: Always use a soap calculator to ensure accurate measurements before starting.
Tips and Tricks to Enhance Your Soap Game
Experiment with Unique Scents and Colors
Blend essential oils for custom fragrances (e.g., lavender and rosemary for a calming combo) and use dual colorants for alluring swirl patterns.
Add Texture or Luxurious Ingredients
- Add oatmeal for a natural exfoliant.
- Use honey for a creamy, richer lather.
Bonus Tip: Incorporate dried flower petals (like rose or chamomile) to create Instagram-worthy designs.
Proper Curing and Storing Tips
Curing for Long-Lasting Soap
- Cure soaps on a well-ventilated rack for four to six weeks. Flip them occasionally to ensure even drying.
- Proper curing prevents cracking and creates a firmer, longer-lasting bar.
Storing Finished Soap Like a Pro
- Keep bars in a dry, cool place away from direct sunlight.
- Stack soaps neatly with space in between to avoid moisture buildup.
Pro Tip: Wrap individual bars in wax paper or store them in breathable mesh bags to retain freshness.
Your Journey to Natural Soap-Making Starts Today
Alterations can be made to these steps, making them as personalized as you want. You can create lye-free soap as well. Making soap your own way can really instill joy because not only will it be beautiful, but also be effective in enhancing and looking after your skin’s health.
There is always a first step, regardless of whether you are a skincare buff or a novice — bring out the confidence in your
Feel inspired? Share your first soap-making experience with us in the comments below or subscribe to our newsletter for more soaping tips and tricks.
Happy soaping!
Curious to learn more? Please post your ideas in the comment section or continue your connection to observe its evolution directly.